EP1000
Laptop Stand

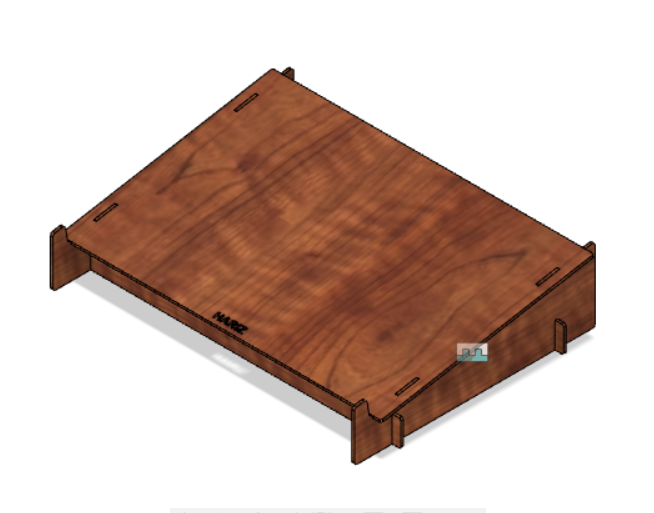
Step 1: Legs
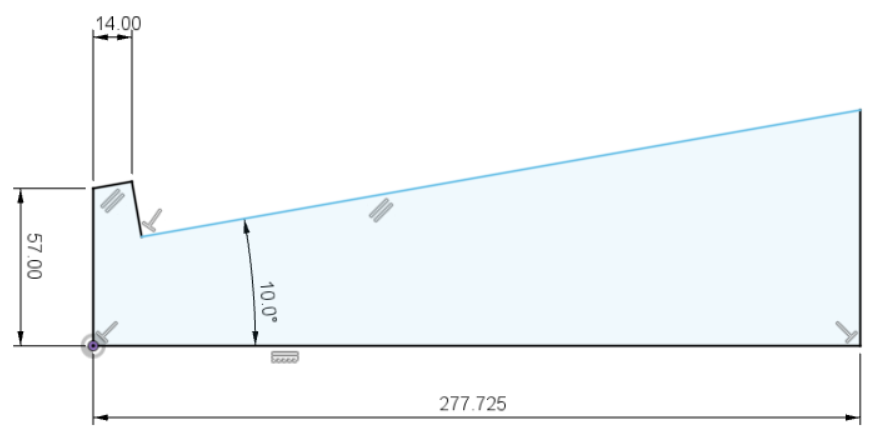
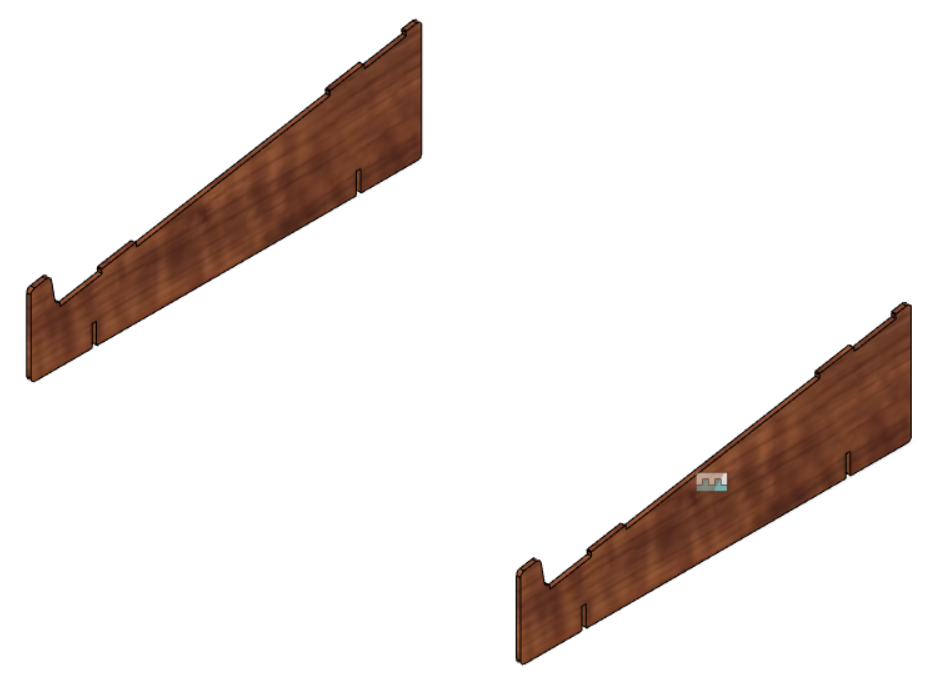
- Plan out the dimensions
- Create new component
- Roughly draw the shape of the leg using lines, start from the origin
- Add constraints to the shape to anchor it down and dimension the lines
- Extrude the shape. For the thickness, I will use a preset parameter so that I can change the thickness of the leg easily if I have to
- Copy the body of the leg and paste it. This means I don’t have to create the same leg again. If I were make changes to the original leg, the copy leg will update accordingly
- Move the copy leg to width of the laptop. Similar to thickness, I created a parameter for the width
Step 2: Top
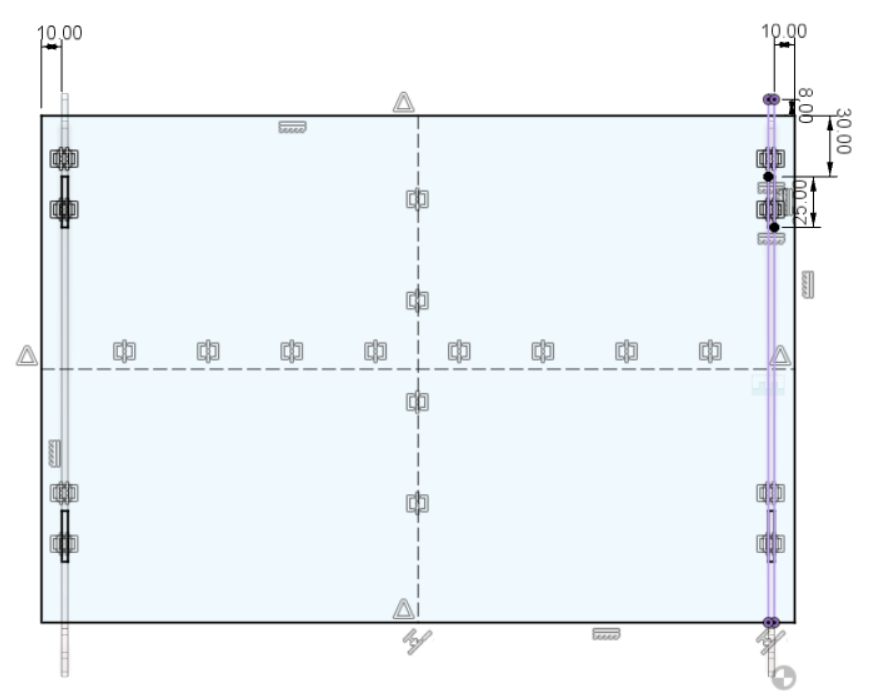

- Create new component and sketch on the top face of the leg
- Draw a rectangle across the legs and include the legs into the sketch so that I can use the intersects
- Coincide the length of the rectangle to the intersect on the legs at the bottom
- Dimension the length and the width of the rectangle, I use the legs as reference
- Create tabs to combine the top and the legs. 2 tabs on each leg at equal distance apart. Tabs will have same width as the thickness of the Legs
- Extrude the top and combine it with the legs. Top will be the cutting tool
- Create a new sketch on the top face of the top
- Add my name, using text and cut into the top
Step 3: Support

- Create new component and sketch on back face of the Legs
- Draw rectangle across the legs and include legs and top into the sketch for intersect points
- Coincide the bottom of rectangle to bottom of legs. Coincide the side of rectangle to side of the top
- Draw a line across the center of rectangle for the tabs. Dimension the rectangle
- Extrude the rectangle, using same thickness as the legs, into the Legs. Extrude the top part without the portion on the legs and the bottom half. The support will slide on the legs with the support of the tabs
- Create a midplane to act as mirror line for the support. Mirror the support
- Combine the support with the legs. Support will be the cutting tool
Step 4: laptop
- Create new component and sketch on the top face of the top
- Draw rectangle across the top and include the legs
- Coincide bottom of rectangle to leg intersects
- Dimension it according to my laptop and extrude
- New sketch on the side face of extruded rectangle
- Draw shape of the screen side when tilted and extrude
- Change its appearance, different from laptop stand
Animation
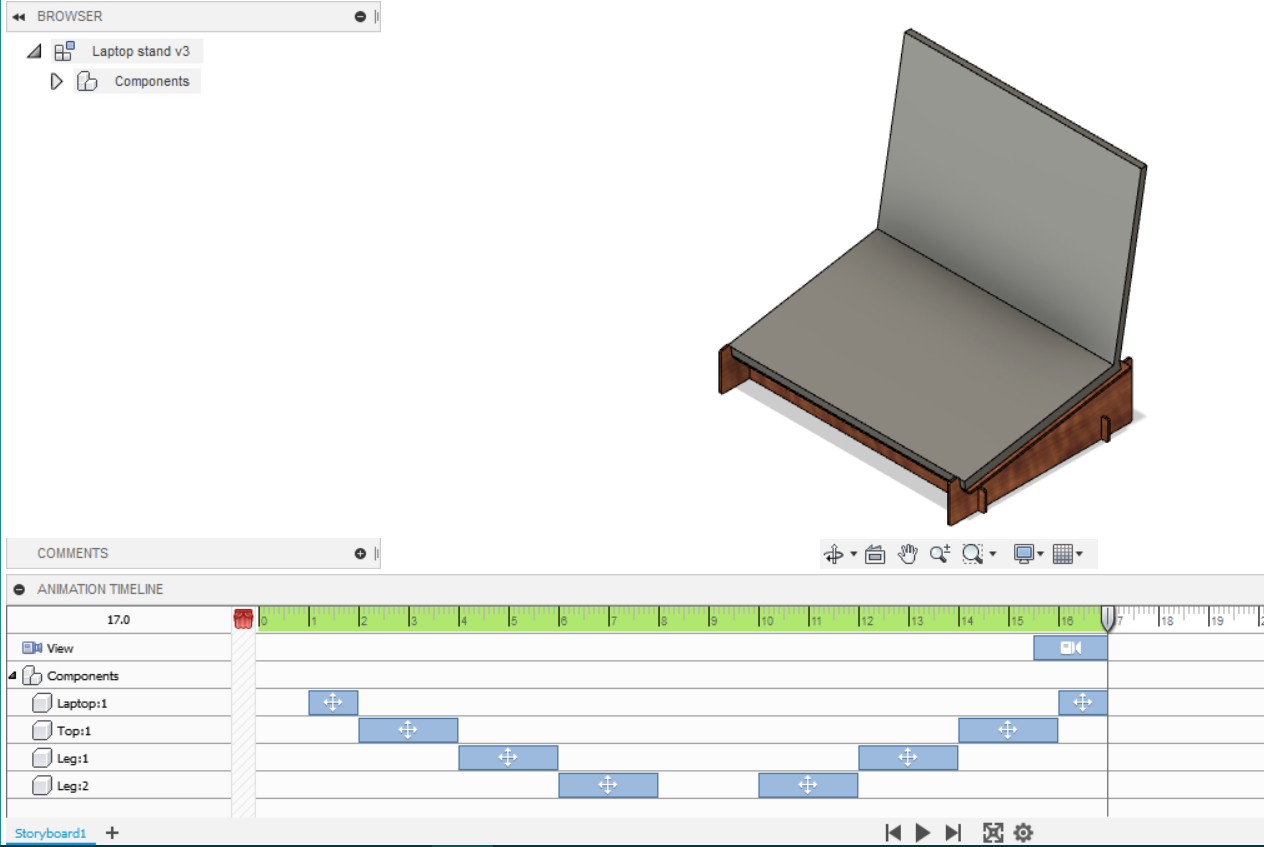
It can be used to show different parts of the build through a video. It is fairly simple to use.
- Under design tab, open up animation
- To move a component, select it and press transform. It is similar to move tool. Once done, it will appear on the timeline where you can adjust the duration and move it -If I’m lazy, I can select auto explode which means that fusion360 would do it for me